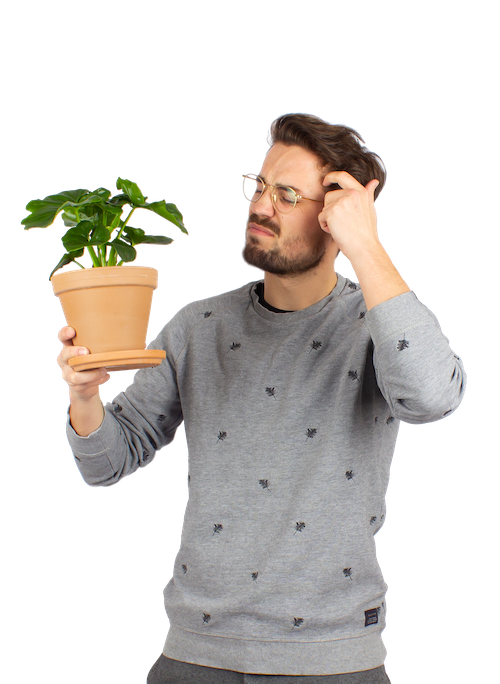


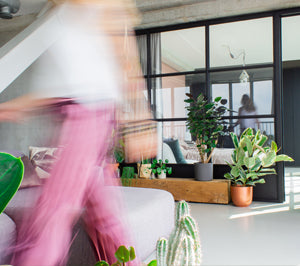

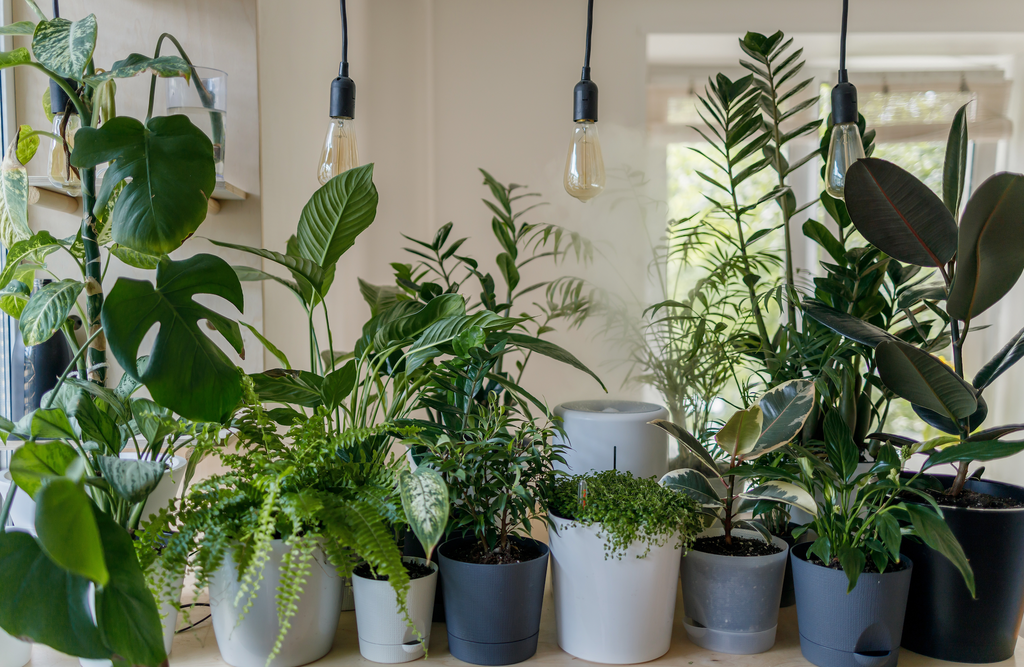
Repotting can be a pesky task that all of us plant parents are guilty for “saving for a rainy day”. And maybe rightly so! Spring and summer are growing seasons for your green amigos, so waiting out the winter to repot may not be such a bad idea.
The ins and outs of repotting can be quite confusing, so we put together a repotting guide that breaks down all the info you need including when to repot, why you should repot, and a step-by-step guide on how to repot your green amigos! Let’s get digging, shall we?

When to repot:
There are a couple key signs to look for in your plants that will tell you when it’s time to repot. These green amigos are smarter than they lead on! 😉 Look for for these telltale signs...
- Repot when... you see roots poking out of the top layer of soil.
- Repot when… the roots start coming out from underneath the pot/outgrowing their nursery pot.
- Repot when… you see that your green amigo could be ill (wilting, fuzzy grey mold, yellowing or discoloured leaves)
- Repot when...you see that your plant is clearly reaching the edges of its pot!
Why you should repot your plants (when the timing is right, of course):
- Your green friend will have more room to grow and thrive!
- Fresh potting soil provides fresh nutrients, which stimulates growth.
- Adding soil provides your plant with a larger reservoir of stored water (which means you can expect to water less frequently!)
- Prevents roots from choking inside the pot from not being able to reach the nutrients they need.
- Reduces the likelihood of disease.
Some other things to keep in mind before you decide to repot:
Repotting your plant after purchase
Whether or not you choose to purchase a new pot with your plant, all Plantsome plants come in their original grower's pot! Your new green friend will be happy in their growers pot for many months, but eventually you will need to move them into a new home. All growers pots have large drainage holes that allow excess water to flow out. With that being said, we recommend letting your plant adjust for at least 3 months before repotting to avoid extra stress while it's in a new environment.

Repotting plants into pots with drainage
If you bought a pot that has proper drainage holes, you've got it easy! You can repot your plant right away into this new container. Ensure it is only a few inches larger than its original pot. All excess water will simply flow away, minimizing the risk of root rot from standing water. This allows you to choose a decorative pot to place your plant in if that's the look you're going for.
Quick Tip: If you are not using an exterior decorative pot, make sure you have a saucer or flood tray so water can flow out without damaging your floor. If you’re not a fan of how that looks, keep this in mind before you order your pots!
Repotting plants without drainage
If you’re not the type to sacrifice style for practicality, pots without drainage gives you more flexibility in terms of shapes and sizes of pots. However, because the water has no place to go, you will have to add a layer of drainage to the bottom of the pot and train yourself not to over-water your plant. This method is only recommended for experienced individuals who know their plant's needs to a T!
If you choose to add a layer of drainage to the bottom of your decorative pot, there are many materials to choose from including; clay shards, wood chips, small pebbles, rocks or even charcoal. This layer of drainage prevents your green amigo’s roots from sitting in pooled water, which could eventually lead to root rot.

Repotting an older plant
Your green amigos usually like being repotted about once every two years, especially the fast growers who may prefer a yearly ritual!
Repot your plant in these 7 easy steps!
Now that we’ve explored when to repot, the benefits of repotting and the different styles of pots, let’s dive straight into the process of how to repot your plants and put this plan into action! In just 7 relatively simple steps, your green amigo will be happy (and thriving) in its new home.
- Water your plant a day or two before repotting your plant. The soil and roots should be nice and hydrated to reduce the risk of shock in its new environment. This step is extremely important!
- If your pot has no drainage holes, add a 2 cm layer with a medium of your choice to the bottom of the pot. This will help your plant's roots breathe.
- If your pot has drainage holes, add soil to the pot. Add enough soil so that when transferred, there is enough soil at the bottom and base of the plant is about 1-2 cm below the rim of the pot. Some amigos such as Yucca and Aloe Vera like being potted shallow and closer to the top, so make sure to do a quick search of your plant's preference.
- Gently remove the plant from its old pot. When you do this, be careful that you don't pull the plant. Instead, tip the plant upside down with one hand covering the soil and then with your other hand gently loosen, wiggle, and lift the pot.
- Place the plant in the new pot, gently shaking the old soil to loosen up the roots. Centre the plant and ensure there is enough room to place soil evenly around it.
- Add soil around the sides of the root ball. With your fingers, gently pack down the soil on all sides until the plant is firmly positioned.
- Water your plant one more time. Add more soil if necessary but be sure to not cover the base or stem of the plant with soil.
Well, what are you waiting for—time to give your green friend a new home!
If you have any questions about repotting your plants, or unsure where to start, email hello@plantsome.ca or follow us on Instagram and Facebook for more tips and tricks in caring for your plants.